Measuring Tools
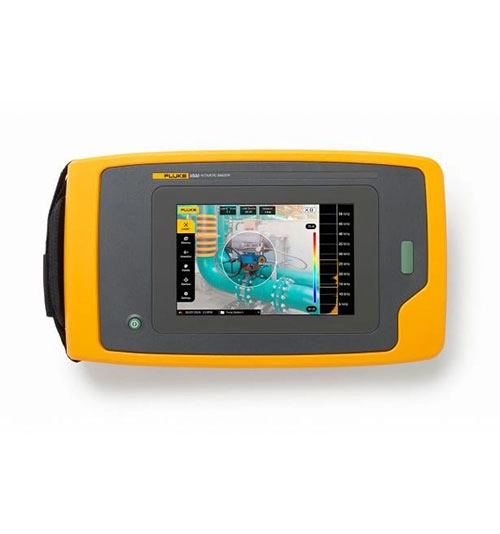
Fluke Fluke ii500 Acoustic Imager
Fluke ii500 Acoustic Imager with LeakQ™: Detect, Locate, and Capture Gas Leaks
The Fluke ii500 Acoustic Imager, equipped with LeakQ™ technology, empowers maintenance teams to detect and locate gas leaks efficiently. Designed for ease of use, it requires no specialized training. Even during peak production periods, teams can effectively identify gas and vacuum leaks. The ii500's advanced acoustic leak detection technology isolates leak sound frequencies, making leaks visible even in noisy environments.
Key features
• Ready-to-Use: The Fluke ii500 is ready out of the box. Its rugged, ergonomic design ensures easy handling, while the large 7" LCD display allows for clear leak visualization.
• Quick Detection: Even users with minimal experience can start detecting leaks within minutes. The tool estimates relative leak size and cost, incorporating a new distance-estimation feature and the 1-10 LeakQ™ severity index.
• SoundMap™ Overlay: The 7" LCD touchscreen overlays a SoundMap™ on visual images, facilitating rapid leak location identification.
• Intuitive Interface: Easily isolate leak sound frequencies and filter out background noise.
• Tagging and Organization: Use image and video tagging, annotation, and folders for efficient organization.
• Leak Sizing: Prioritize repairs based on relative leak size.
• Collaboration: The reporting tool allows sharing of visuals, tagging, and notes with team members and repair personnel.
Download
Produk Lainnya
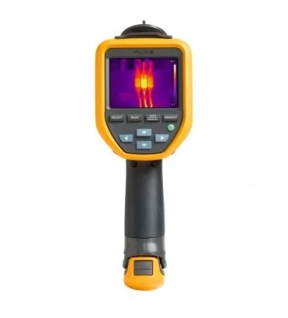
Fluke TiS20+ / TiS20+ MAX Thermal Imaging Camera
Save time with precise infrared levels and analysis
Whether you're on the roof checking heating, ventilation and air conditioning, deep in the factory checking motors, or if you've locked down the electrical panels, you rely on a tool that has the power and features to do the job quickly.
The Fluke TiS20+ and TiS20+ MAX handheld thermal cameras put the power of thermal imaging at your fingertips. Designed to make your job faster and easier, this thermal imager is the perfect tool for:
- Commercial electrician
- Heating, ventilation, air conditioning and refrigeration technician
- Maintenance technician
Get context with a combination of visual light and infrared images
In thermography, context is important. Let Fluke IR-Fusion™ make your job easier by using a thermal image superimposed on a visual light image to provide a complete picture of where an issue is a problem before it actually becomes a problem. Just slide your finger across the screen to adjust the infrared level. Whether you're experiencing an uneven load on your switchgear or checking your ventilation system, the Fluke TiS20+ helps you quickly detect issues.
You work hard all day, your tools too
You must not let your thermal imager be damaged by the environment. You can sleep well at night knowing that your camera will stand up to whatever the day throws at it.
- 2 meter high drop test
- Waterproof (IP54)
- Dustproof (IP54)
Stop sorting, start analyzing with Fluke Connect Asset Tagging
Avoid long hours on the computer setting up your thermal images, let Asset Tagging do all the work for you. No more dragging and dropping or renaming files in the office, just scan the QR code on your assets, take thermal images and they are automatically sorted by assets. Start spending your time analyzing images and creating reports instead of sorting files one by one.
Longest battery life in a Fluke thermal camera
The TiS20+ and TiS20+ MAX work non-stop, with a battery life of over 5 hours of continuous use making it the longest battery life in a Fluke thermal camera. Save battery power for multiple inspection points with sleep mode. Just press the power button once and you are ready to go.
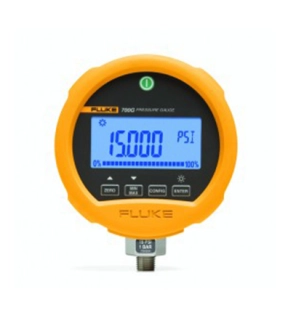
Fluke 700G31 Pressure Gauge Calibrator, -14 to 10,000 psi'
Fluke 700G31 Offers
Compatible with most hydraulic and pneumatic test pumps, users can also make use of Fluke's 700G/TRACK Software to upload over 8000 pressure measurements logged in the field.
Features
- Precision pressure measurement from ±10 inH2O to 10,000 psi (20 to 690 bar)
- Absolute pressure measurement ranges 15, 30, 100, 300 psia
- Accuracy to 0.05% of full scale
- Reference class gauge accuracies to 0.04% of reading
- Easy to use, rugged construction for reliable performance
- CSA; Class 1, Div 2, Groups A-D rating
- ATEX rating: II 3 G Ex nA IIB T6
- Combine with the 700PTPK or 700HTPK pump kits for a complete pressure testing solution for up to 600 psi (40 bar) with the PTP-1 pneumatic pump and up to - - 10,000 psi (690 bar) with the HTP-2 hydraulic pump
- Log up to 8493 pressure measurements to memory (requires 700G/TRACK software)
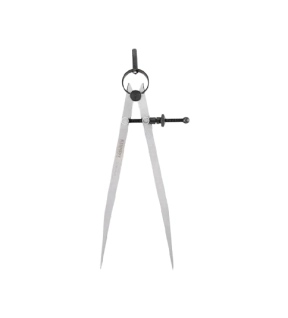
Kennedy 8" SPRING TYPE DIVIDERS-SOLID NUT
Manufactured from high quality polished steel. Ground finished points, a fine adjusting screw is mounted across the legs for setting the distance between the two points. A circular spring bow joins the legs, with a knurled extension attached for use when pivoting the dividers. Dividers are used for scribing arcs and circles, a light centre punch mark on the work keeps the pivot leg in the centre while marking.
Features and Benefits
• High quality polished steel with ground finished points
• Adjusting screw mounted across the legs for setting distance between points
• A light centre punch mark on the work keeps pivot leg in the centre while marking
• Ideal for use in scribing arcs and circle applications
Features and Benefits
• High quality polished steel with ground finished points
• Adjusting screw mounted across the legs for setting distance between points
• A light centre punch mark on the work keeps pivot leg in the centre while marking
• Ideal for use in scribing arcs and circle applications
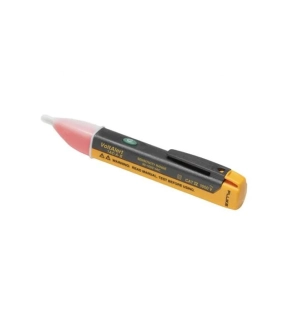
Fluke 1AC II Non-Contact Voltage Tester
• Be aware of voltage easily - the tip glows red and a beeper sounds when voltage is detected
• Continuous self-test so you always know it’s working
• Voltage detection range for wide application use - 90 V to 1000 V AC or 200 V to 1000 V AC
• Audible/Silent mode for added convenience
• Continuous self-test so you always know it’s working
• Voltage detection range for wide application use - 90 V to 1000 V AC or 200 V to 1000 V AC
• Audible/Silent mode for added convenience


